
What this does
This is the day-to-day apply → approve workflow once your leave types and balances are set up. An employee submits a request for a leave type and date range; WorkRight checks it against their balance and estimates the working days; the manager or HR approves or rejects; and on approval the days are deducted via a transactional ledger so the balance can never silently drift. Everyone can see their own running balance and request history in one place.
Who can do it
- Apply for leave: any employee, for themselves.
- Approve or reject:the employee's manager (their direct reports) and HR (everyone). What you see is filtered by your role — employees see their own requests, managers see their reports', HR sees the whole company. The backend enforces this scope.
- Plan:the Leave module must be enabled on your plan. If it isn't, the menu is hidden — see pricing.
Steps — apply for leave (employee)
- Open Leave and click Request leave.
- Pick the leave type and the start and end dates, and add a reason if you want to. WorkRight shows a live working-day estimate and the impact on your balance as you fill it in.
- Submit. The request is checked against your balance and goes to your approver as pending.
- Track it under Leave → your requests. Open any request to see its status, and cancel a pending one if your plans change.
Steps — approve or reject (manager / HR)
- You get a notification — the in-app bell, plus email or Slack/Teams if configured. A reminder job nudges pending approvals so nothing gets stuck.
- Open the request (from the unified Approvalsinbox or the leave approvals queue). You'll see the type, dates, working days, the requester and their reason.
- Approve or reject. A rejection can carry a decision note. On approval, the days are deducted from the balance via the ledger.
The surfaces you'll use
Everything lives under Time & Leave in the sidebar:
- Request leave — the form: leave type, start/end dates, optional reason, with a live working-day and balance estimate.
- My requests — your own requests with their status (pending, approved, rejected, cancelled). Open one to view detail or cancel a pending request.
- Balances — your entitlement and usage per leave type, with a year picker.
- Approvals — for managers and HR, the queue of requests awaiting sign-off (also reachable from the unified Approvals inbox).
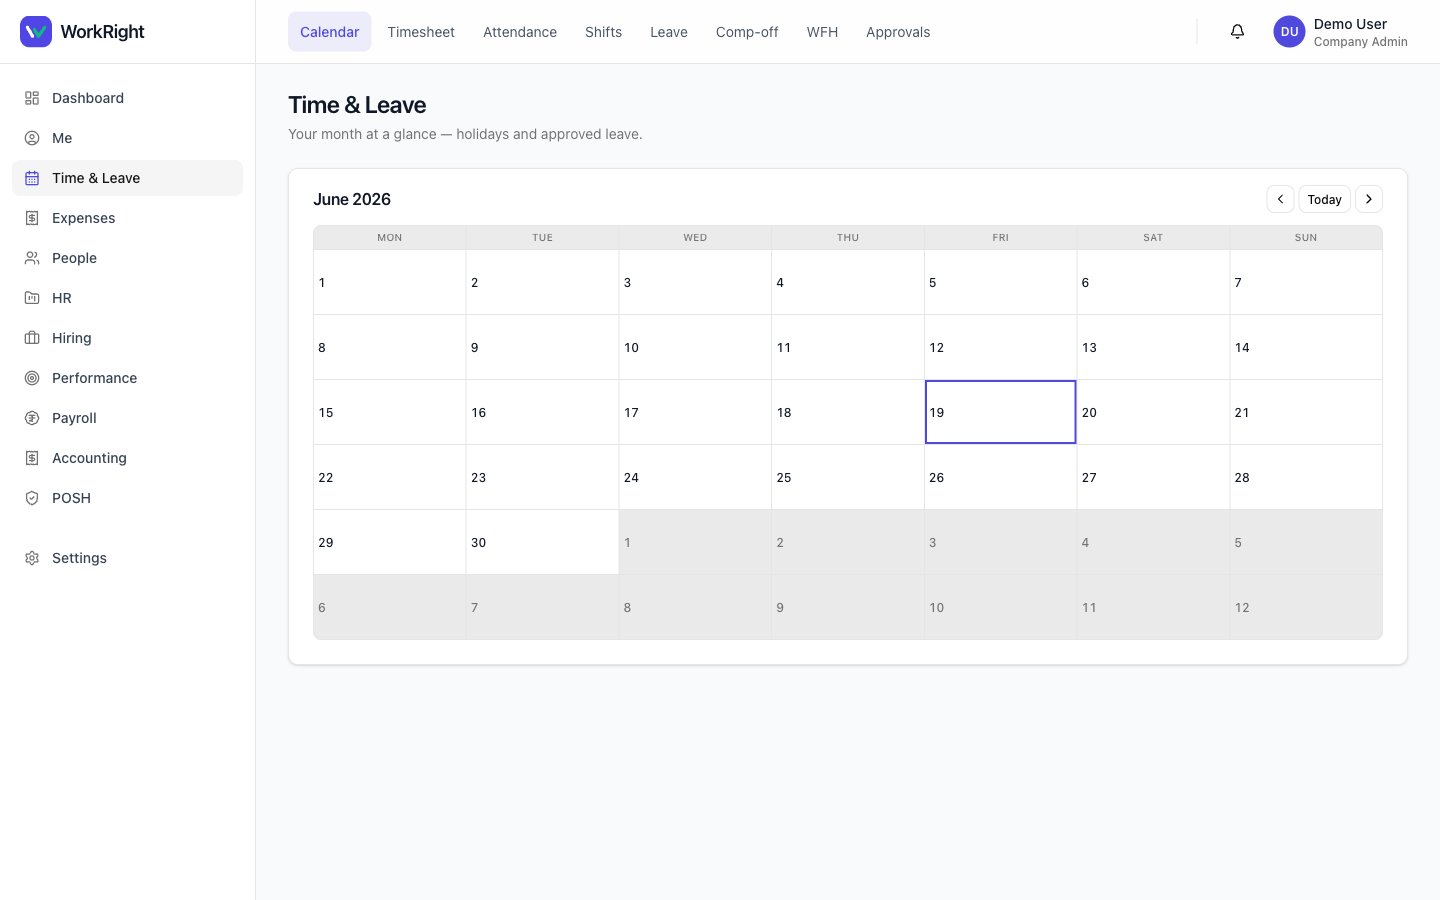
- Time & Leave calendar— your month at a glance, overlaying public holidays and your approved leave (and, if you use time tracking, hours logged). Click a day to see what's on it, or to jump straight to requesting leave.
 Click to enlarge
What happens next
Approved leave reflects in the employee's balance immediately and feeds attendance and payroll (for example, loss-of-pay days where applicable). Because every grant, request and approval posts to the ledger, there's a single source of truth — not a spreadsheet that slowly goes out of sync.
Tips
- Apply early — the working-day estimate already excludes weekends and public holidays, so the days shown are the days that count.
- If a request is in the wrong type or dates, cancel the pending one and file a fresh request rather than editing in place.
- Managers: clear the queue regularly. The reminder nudges help, but an empty approvals inbox keeps your team unblocked.
Related
- Set up leave — configure types and opening balances before you apply.
- Comp-off, work-from-home & holidays — the related time-off flows.
- Leave management for India — what the module covers.
- Run your first payroll — where leave affects pay.